Chocolate and Vanilla Dreams: Finding the Perfect Balayage Hair Extensions
The Sweet Appeal of Balayage Hair Extensions
Understanding Balayage: The Basics of Hair Extension Techniques
Balayage is a French coloring technique. Its name means 'to sweep'. This method gives a natural blend of two colors. It's ideal for creating depth and dimension in your hair. The 'swept-through' effect goes from darker to lighter shades. Balayage extensions are no different. They mimic this look without coloring your own hair. Some use foils or freehand painting to apply the color. This technique is less harsh on the hair than full dye jobs. The results are sun-kissed and low-maintenance. That's why many choose balayage for a fresh and natural style.
Why Balayage is Your Sweet Spot for Natural-Looking Extensions
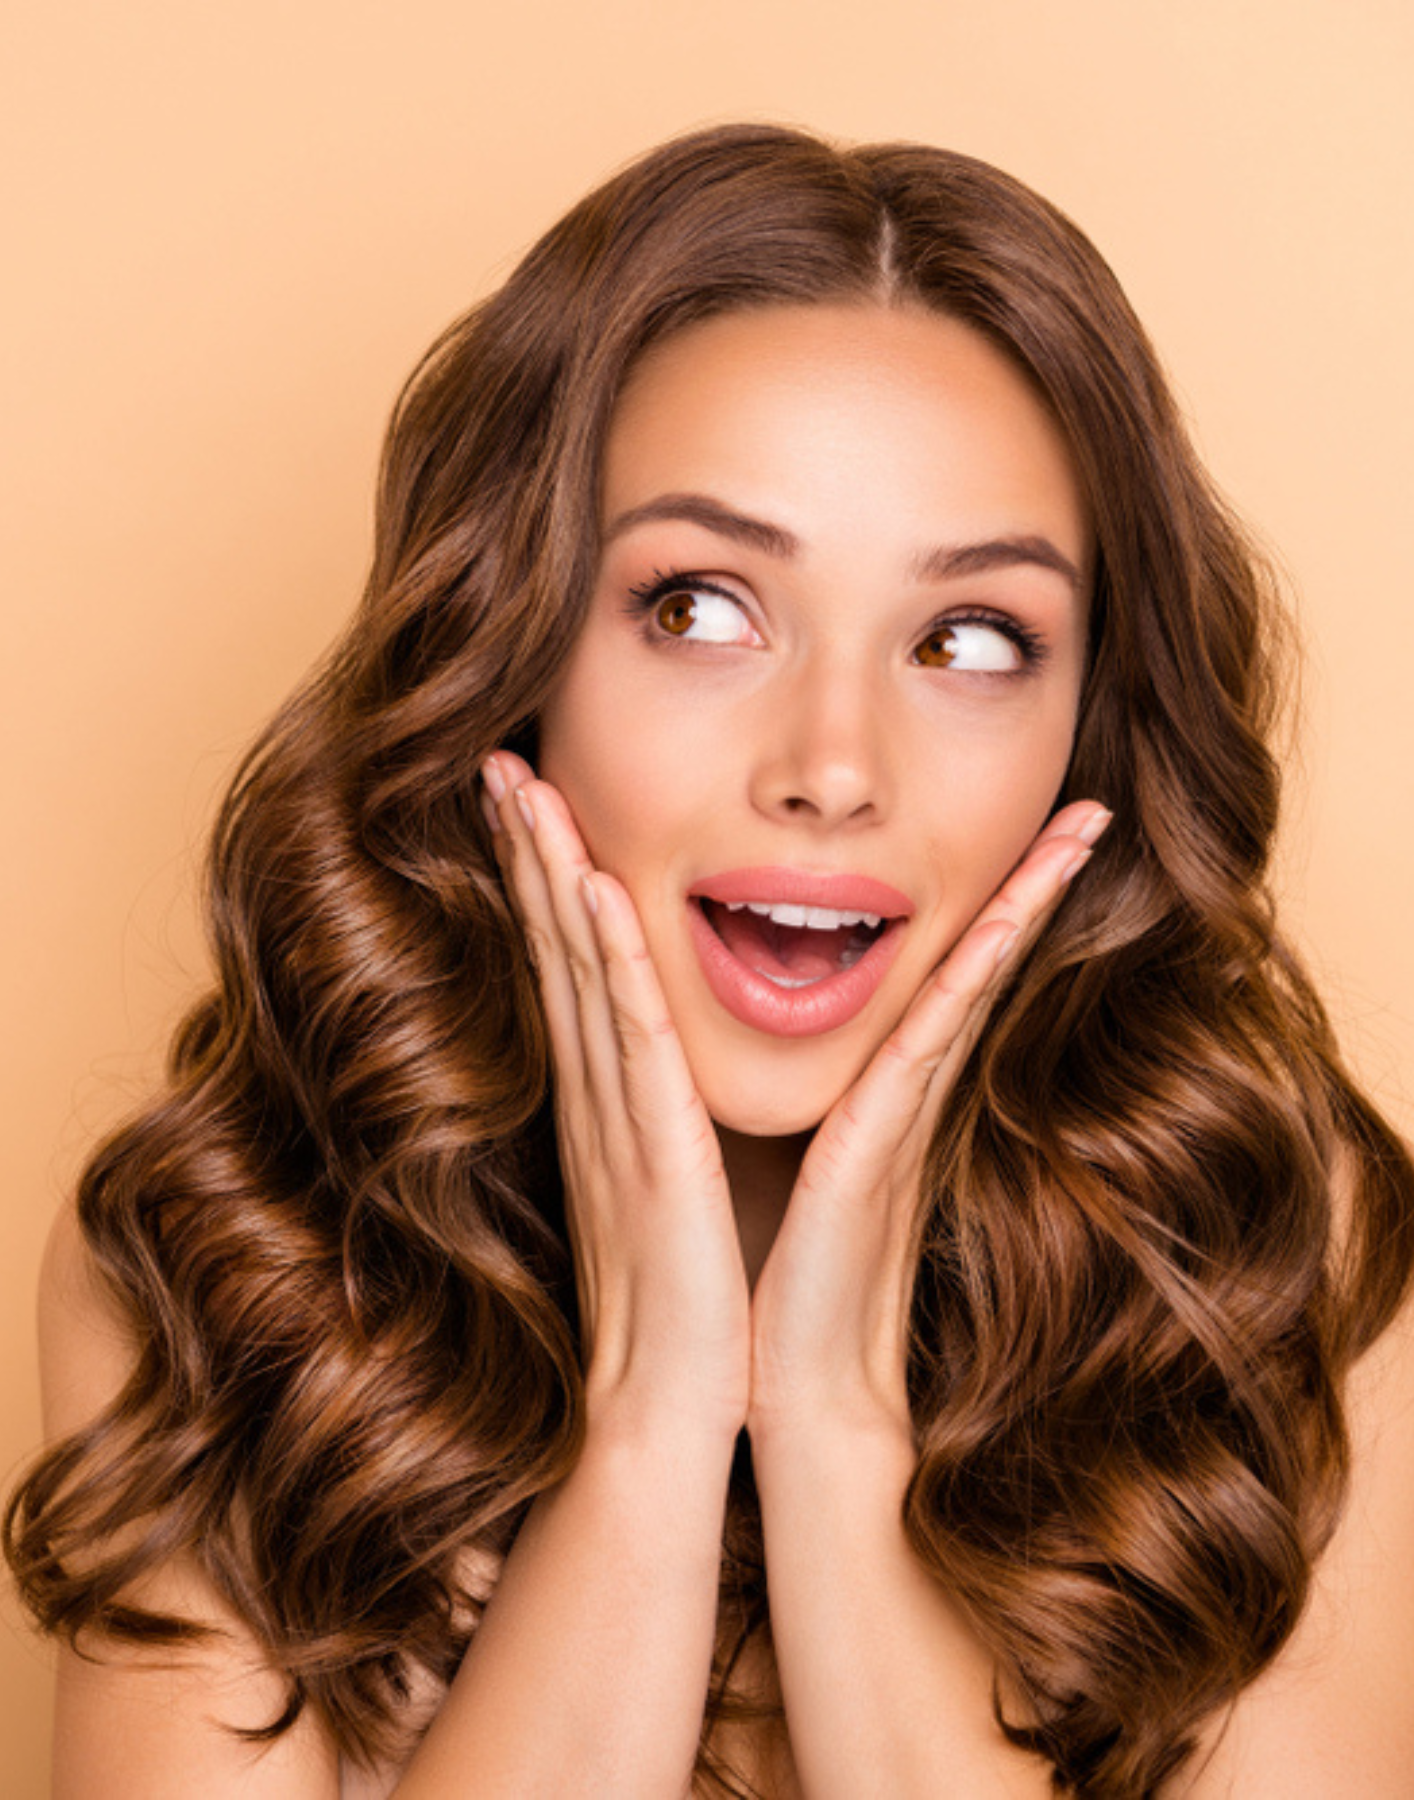
Balayage offers a unique charm, making it a top pick for hair extensions. It stands out because it blends colors in a way that mirrors natural hair growth. The result? Effortless elegance. You'll find the hues melt together, from deeper roots to lighter ends. This technique is all about subtlety. It avoids harsh lines, creating a gentle transition that looks sun-kissed. Chocolate and vanilla shades are perfect for balayage. They offer a classic mix that suits many skin tones. Choosing balayage means saying yes to a natural, soft look. People will wonder if it's really your hair. That's the power of well-done balayage extensions!
Choosing the Right Flavor: Chocolate and Vanilla in Extensions
The Power of Color Choices in Balayage Extensions
Selecting the right hue is key in hair extensions. It can change your style. Chocolate and vanilla tones offer depth and soft contrasts. They mimic natural hair colors. When mixed, they bring warmth and dimension to your locks. For those looking for a balance of dark and light, consider the following points:
- Dark chocolate shades give richness to your hair.
- Vanilla accents can illuminate and frame your face.
- Combining both creates a dynamic and inviting look.
Choose colors that match your skin tone and eye color for the most natural effect.
Blending Flavors: How to Mix Chocolate and Vanilla for the Perfect Shade
Mixing chocolate and vanilla shades can create a natural and unique look. To find your perfect blend:
- Consider your skin tone. Choose warmer or cooler shades to match it.
- Think about the contrast. Decide if you want a subtle mix or a bold contrast.
- Ask a professional. They can help you pick the right tones.
- Look at examples. Find photos of chocolate and vanilla balayage to inspire you.
By mixing these two shades, you get a custom color that looks like it grew out of your scalp. It’s a sweet way to boost your hair’s beauty!
The Ultimate Guide to Incorporating Balayage Extensions
Preparing Your Natural Hair for Balayage Extension Application
Before applying Choc Vanilla Balayage Clip In Hair Extensions, prepare your hair:
- Start with clean hair: Ensure your hair and scalp are clean. Use a gentle shampoo.
- Condition your ends: Apply conditioner to the ends of your hair to avoid tangling with the extensions.
- Dry your hair thoroughly: Clip-in extensions hold best in dry hair. Pat your hair dry gently.
- Straighten your natural hair: If you have curly or wavy hair, straightening it can help match the texture of straight balayage extensions for a seamless look.
- Brush out tangles: Use a soft brush or wide-toothed comb to remove knots, which can cause issues during the application.
- Choose the right base color: Your balayage extensions should fade naturally into your hair color for a believable effect.
With these steps, your natural hair will be set for a stunning balayage transformation.
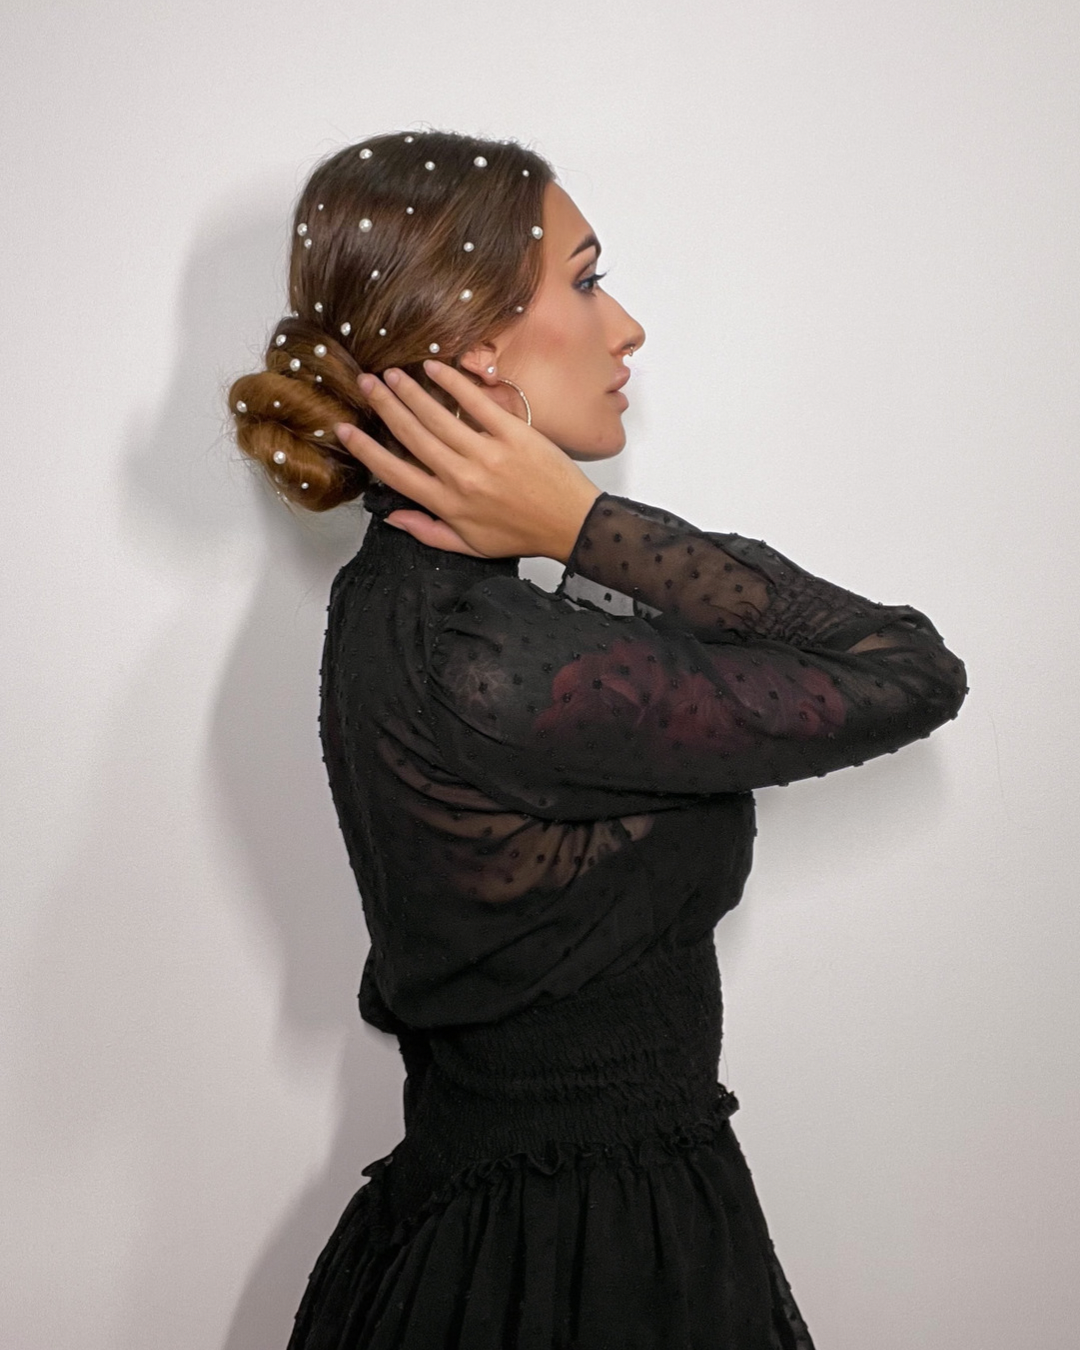
Step-by-Step Guide to Applying Chocolate and Vanilla Balayage Extensions
Applying Chocolate and Vanilla Balayage Extensions can be straightforward if you follow these steps:
- Section Your Hair: Begin by dividing your hair into four sections. Secure each part with clips.
- Prepare the Extensions: Take your balayage clip-in extensions and lay them out. Have a brush and mirror ready.
- Start at the Bottom: Attach the first set of extensions at the lowest section of your hair. Work from the bottom up.
- Clip Securely: Ensure each clip snaps tightly against your scalp. This keeps the extensions in place.
- Blend the Colors: Alternating between chocolate and vanilla wefts will give a natural balayage effect. Mix the shades as you move up.
- Styles as Desired: Once all clips are in, use a brush to gently blend your hair with the extensions. Style as you like.
Remember to take care and enjoy the transformation!