Elevate Your Hairstyle Game with Clip-In Extensions: Tips for Seamless Integration
Understanding Balayage Clip-In Extensions
What Are Balayage Clip-In Extensions
Balayage clip-in extensions are a hair styling revolution you can't miss. Imagine the sun-kissed highlights and subtle color gradients that balayage is famous for, but now in a clip-in version. These extensions are designed to clip into your own hair effortlessly, adding instant length, volume, and that sought-after balayage effect. What's even better is that they come in various shades, allowing you to achieve a natural-looking blend with your existing hair color. Perfect for those who want a no-commitment color upgrade or to pep up their hairstyle for special occasions, these extensions offer the beauty of balayage without the need for permanent dye or salon visits.
Benefits of Using Balayage Clip-In Extensions
Balayage clip-in extensions offer multiple advantages for those seeking a hair transformation without commitment. One of the most appealing benefits is the convenience they provide. Unlike permanent dye jobs, these extensions can be clipped in and out in minutes, perfect for a quick style change. They also cause no damage to your natural hair, since there's no need for harsh chemicals or dyes. Balayage clip-ins are designed to blend seamlessly with your natural hair, giving you a multi-dimensional color without the salon price tag. Additionally, they are a great way to add volume and length instantly. For those with thin or fine hair, this can be a game-changer. Plus, with proper care, these high-quality extensions can last a long time, making them a cost-effective styling option.
Choosing the Right Shade and Style
Tips for Selecting the Perfect Color Match
When choosing clip-in extensions, ensuring a flawless color match is vital for a natural look. Begin by examining your hair in natural light to determine its base color and the tones of your highlights. Aim to match the extensions to the ends of your hair because that's where they will blend. If you're unsure, consult with a professional stylist who can assist with color matching. Opt for balayage clip-in extensions with a gradient that mimics your own hair for the most seamless integration. Some brands offer color swatches to help you find the perfect shade. Remember, it's better to go slightly lighter than darker with balayage extensions, as they can be toned down if needed.
Balayage Styles to Consider for Your Hair Type
Finding the right Balayage style for your natural hair can profoundly impact the final look and feel of your extensions. If you have straight, fine hair, opt for lighter Balayage shades that blend easily, adding depth without weighing down your strands. Wavy hair types can embrace more pronounced gradations in color, which enhance the natural movement of the waves. For curly hair, consider multi-tonal Balayage extensions that echo the vibrancy of your curls. No matter your hair type, aim for a style that closely mirrors your natural hair pattern for the most authentic blend. A good tip is to consult with a stylist who can recommend the best Balayage technique to match your unique hair type.
Step-by-Step Guide to Applying Clip-In Extensions
Sectioning Your Hair for Clip-In Placement
Applying clip-in extensions begins with a crucial step: sectioning your hair. Start by brushing your hair to remove any tangles, ensuring smooth placement of the wefts. Then, part your hair horizontally where you intend to place the first weft. It's recommended to start from the nape of your neck and work your way up. Use a tail comb for precision, and create a clean line to avoid uneven application. After sectioning, clip up the rest of your hair to keep it out of the way. This cleared area is where you'll attach the first weft. Make sure that the section is thin enough so that the clips have enough grip but thick enough to support the weight of the extension. This preparation sets the foundation for a secure and natural-looking extension placement.
Securing and Blending the Wefts
Once you have sectioned your hair, it's time to secure the balayage clip-in wefts. Start by gently backcombing the hair at the roots where you'll attach the extensions. This extra texture helps the clips grip better, reducing the chance of slippage. Attach the weft by opening the clip, sliding it into the teased area, and snapping it shut. Apply pressure to both ends of the clip to ensure a firm hold.
After all wefts are in place, the blending process begins. Take a moment to brush your hair gently, allowing it to integrate with the extensions. For a more natural appearance, you can use a curling iron or straightener to style your hair and the extensions together. This will help to smooth any demarcation lines between your natural hair and the clip-ins, giving you that seamless balayage look. Remember to use a heat protectant spray before styling to protect both your hair and the extensions.
Techniques for a Natural and Seamless Look
Achieving a natural and seamless look with clip-in extensions is all about mastering the right techniques. Here are a few tips to make sure your balayage extensions blend perfectly with your natural hair:
- Start with clean, dry hair: This provides a solid base for the clips to adhere to and helps the extensions stay in place.
- Curl or straighten your hair: Style your natural hair in the way you intend to wear it with the extensions, as this makes blending easier.
- Backcomb at the root: Gently tease the hair where you'll clip in the extensions to create a more secure grip.
- Place the wefts strategically: Apply the larger wefts at the back of your head and work your way to the sides with smaller ones.
- Blend with a brush or comb: After clipping in the extensions, brush or comb through your hair to help the colors and lengths blend seamlessly.
- Use a finishing product: A light hold spray or serum can help tame any flyaways and add a touch of shine for a polished look.
By following these straightforward steps, you'll ensure your clip-in extensions look as natural as possible, enhancing your hairstyle with the beautiful, varied tones of balayage.
Hairstyling With Balayage Clip-In Extensions
Creating Volume and Texture with Extensions
Achieving voluminous, textured hair is easy with balayage clip-in extensions. Start by gently teasing your hair at the roots where you plan to clip in the wefts. This provides a stable base and helps prevent the wefts from slipping. Then, select where you want to add volume or texture and apply the extensions in those areas. Additionally, you can use a curling iron or straightener to style both your natural hair and the extensions together, which will create a cohesive look and enhance the fullness of your hairstyle. Remember to use a heat protectant spray to safeguard both your extensions and natural hair from heat damage.
Trendy Hairstyles that Work Well with Balayage Extensions
Balayage clip-in extensions are the perfect way to spice up your hairstyle without committing to a permanent change. Here are some trendy hairstyles that pair exceptionally well with balayage extensions for a stunning look:
- Beach Waves: Use a curling wand to create loose, carefree waves. The varied tones in balayage extensions will enhance the sun-kissed effect.
- Braided Crowns: Incorporate extensions into braids for fullness. The balayage effect adds depth to the braided patterns, making them stand out.
- High Ponytails: Add length and volume to your ponytail with clip-ins. The balayage extensions give a dimensional look that's both sleek and chic.
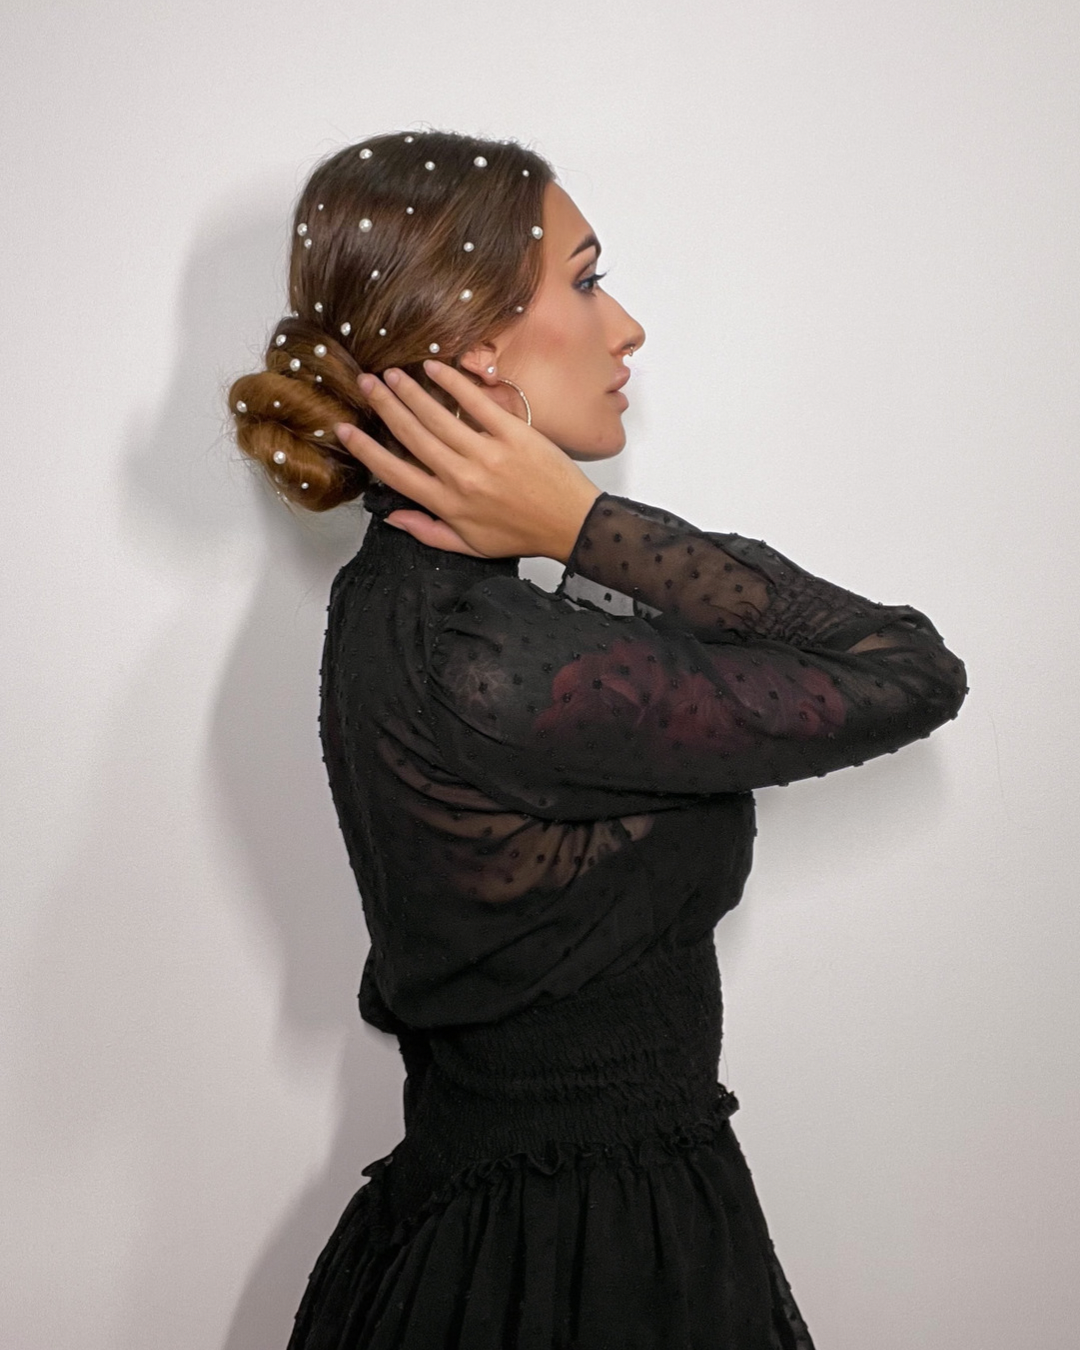
- Messy Buns: Achieve a fuller bun by adding extensions. The mixture of shades in the balayage creates an effortlessly stylish appearance.
- Half-up, Half-down: Use extensions to add thickness to the lower half of your hair while keeping the top sleek or slightly teased for a classic and elegant style.
- Sleek Straight Look: Clip in the extensions and use a straightener for a polished, seamless look. The balayage highlights will provide a natural-looking contrast.
Remember to blend the extensions properly to achieve a natural transition between your hair and the balayage extensions for any style you choose.
Caring for Your Clip-In Extensions
Cleaning and Maintenance Routine
To keep your clip-in extensions looking as good as when you first bought them, it's important to have a proper cleaning and maintenance routine. Start by gently brushing the extensions before and after each use to remove any tangles. Wash them after every 10 to 15 wears or when there's a lot of product build-up. Use a sulfate-free shampoo and lukewarm water to cleanse them thoroughly. After washing, apply a conditioner and leave it on for a few minutes before rinsing. Avoid wringing the hair; instead, pat the extensions dry with a towel and let them air dry completely before storing. Remember, too much heat can damage the extensions, so use a heat protectant spray before styling and avoid excessive use of hot tools.
Storage Tips to Prolong Extension Lifespan
Proper storage of clip-in hair extensions is essential to maintaining their quality and extending their lifespan. Here are some valuable storage tips:
- Brush Gently: After usage, brush the extensions with a soft-bristle brush to remove tangles and smooth out the hair.
- Wash and Dry: Clean the extensions using a sulfate-free shampoo and conditioner. Allow them to air dry completely before storing.
- Silk or Satin: Wrap the extensions in a silk or satin scarf. These fabrics are gentle on hair and prevent tangling and frizz.
- Hang or Lay Flat: Invest in a specially designed hanger, or lay the extensions flat in a drawer away from direct sunlight and humidity.
- Avoid Folding: Folding extensions can cause permanent bends. Store them in a way that preserves their straight or wavy style.
- Airtight Container: Consider keeping your extensions in an airtight container or bag to protect them from dust and moisture.
By following these tips, your balayage clip-in extensions will remain in pristine condition, ensuring they are always ready to elevate your hairstyle.
Troubleshooting Common Issues
Managing Slipping or Misplaced Wefts
If you've ever experienced your clip-in extensions slipping or shifting out of place, you're not alone. This issue can be disruptive and compromise the natural look of your extensions. To manage slipping or misplaced wefts, make sure to first prepare your hair by creating a stable base. Tease the roots lightly where the clips will attach to your hair; this provides extra grip for the clips. Also, ensure that you're not overburdening your natural hair with wefts that are too wide or heavy. If slippage persists, consider using smaller wefts or additional clips for more secure attachment. Regularly check throughout the day and adjust as needed to maintain a flawless, seamless appearance.
Blending Extensions with Shorter Haircuts
Achieving a natural look with balayage clip-in extensions can be a bit challenging if you have a shorter haircut. However, with the right techniques, it is possible to create a seamless blend. Start by selecting thinner wefts that match your hair density to avoid a bulky appearance. When applying the extensions, use a tail comb to create a horizontal section at the back of your head, low enough to allow enough natural hair to cover the wefts. Clip the rest of your hair up and out of the way. Backcomb your natural hair at the roots where the clips will attach to give extra hold and disguise any demarcation lines. Once the extensions are clipped in, take a moment to ensure they lay flat against your head without any gaps. For the final touch, style your hair as usual to blend the extensions with your natural hair, using a curling iron or straightener to help integrate the different lengths. Remember, practice makes perfect, and a little patience will go a long way in making your short haircut look fabulous with balayage clip-ins.
FAQs About Clip-In Extensions
Can Clip-Ins Damage Your Natural Hair?
Clip-in hair extensions are designed to enhance your hairstyle without causing harm to your natural hair. They function by attaching to your hair with gentle clips that are covered by your own locks, which means there's no need for harsh chemicals or heat. When applied correctly and with care, clip-ins should not damage your hair. However, to prevent any potential strain on your roots, it’s essential to ensure they're not too tight, and they should be removed before sleeping or engaging in activities that could cause tangles. Proper placement and regular breaks will help maintain the health of your natural hair while enjoying the versatility of clip-ins.
How Long Can You Wear Clip-In Extensions?
One of the most frequently asked questions about clip-in extensions is about their wear time. When properly applied and cared for, high-quality clip-in hair extensions can be worn for 6-8 hours at a time. However, it's essential not to sleep in them to prevent tangles and potential damage to both the extensions and your natural hair. Prolonged wear is not recommended, as it could lead to discomfort and possible strain on your hair follicles. For the best experience, apply them in the morning and remove them before bedtime, ensuring that both your hair and the extensions maintain their integrity and appearance.
Where to Buy High-Quality Balayage Extensions
Criteria for Choosing a Reputable Vendor
When looking for high-quality balayage extensions, it's crucial to select a reputable vendor to ensure you get the best value for your money and hair that looks natural and vibrant. Here are some criteria to consider while choosing a vendor for Coconut Grove Balayage Halo Hair Extensions:
- Quality of Hair: Check for the use of 100% Remy human hair, which is the finest quality available, ensuring that the extensions blend seamlessly with your natural hair and remain tangle-free.
- Color Range: A good vendor will offer a wide range of balayage shades to match your hair color perfectly.
- Customer Reviews: Look for vendors with high ratings and positive customer feedback that mention the longevity and quality of the extensions.
- Return Policy: A vendor confident in their product will have a transparent return policy, giving you peace of mind if the extensions don't match your expectations.
- Customer Support: Excellent customer service indicates a vendor's commitment to assisting you with any inquiries or issues you might encounter.
- Expertise in Color Matching: Especially important for balayage extensions, the vendor should provide guidance in selecting the right shade for a seamless blend.
- Educational Resources: Quality vendors often offer tutorials and resources on how to apply and care for your extensions, ensuring you get the most out of your purchase.
Prioritizing these criteria will help you find a vendor that provides not just a product, but a complete, satisfying experience with your new Coconut Grove Balayage Halo Hair Extensions.
Coconut Grove’s Top Picks for Balayage Halo Hair Extensions
When it comes to investing in high-quality balayage extensions that offer a stunning blend and natural appearance, Coconut Grove has several top picks for balayage halo hair extensions. Starting with Luxy Halo which is renowned for its luxurious, thick wefts that provide a glamorous look. Another favored brand is Glam Seamless, offering ultra-thin wefts for a discreet and comfortable fit. For those seeking an eco-friendly option, EcoLocks Salon provides extensions made from ethically sourced hair. Hair Goddess extensions are celebrated for their range of balayage shades that suit various hair colors. Finally, The Extension Room boasts a personalized color-matching service to ensure the perfect blend with your natural hair. Each of these vendors stands out for their commitment to quality, customer satisfaction, and a focus on providing extensions that look and feel natural.